Tuesday, May 25, 2010

Keep it Pithy in the Kitchen

DSC_0120 copy I’m liking my new embroidery design.  I embrace domesticity. Really, I do. This apron is full of pride, wit, and a little bit of style. I always have a million phrases I want to embroider and very little time to follow through. Here are a few:
Shun the Twinkies” (I’m actually working on this but I need some clip art of a twinkie, can’t find any. Help me Robyn ‘cause I know you would wear it.)
Oh I Can Cook
Kiss this Cook
This isn’t a restaurant” (I’ve done this before. Hee hee.)
Make it Yourself” (I’ve done this one too but need to resurrect it because it is my mantra. Maybe this time with a picture of a pig trough.)
Please share your sarcastic cooking phrases with me. (Or those not related to cooking….sarcasm has no designated room in this house.)
Short and pithy please.
Monday, May 17, 2010

Strawberries and Cream Tart

Eeeee-gads! How good was this shortbread-like crust with thickened heavy cream and strawberries? So good I forgot to take a picture! My issue of Food Network magazine arrived Saturday and by that night my mom and I had made this recipe. She made the crust, I made the cream layer, Paul topped it with berries and sugar. A collaborative effort. A delicious dessert. A real keeper of a recipe.  Welcome strawberry season. Next up for strawberry season? Strawberry freezer jam.

Thursday, May 13, 2010

April Showers Bring May Flowers

spring flowers 002aIt stopped raining yesterday long enough to snap a few photos. As I walked to my mailbox I noticed my happy little flowers standing tall after lots of rain. (I thought Utah was the desert?)These flame tulips,  hyacinths, and bleeding hearts are all in my front yard. And of course as i am laying down on my sidewalk (on a towel to stay dry) cars drive by and stare at me with Nikon in hand. The neighbors must think I'm nuts. But spring flowers don't last forever.
They sure make me happy.

p.s. Have I mentioned how much I love my 35 mm lens Paul bought me for Christmas? Love the wide aperture (f/1.8) I can shoot now! (Aperture gives that nice fuzzy background)

spring flowers 004a
spring flowers 008 copy

Wednesday, May 12, 2010

Smocks for Girls

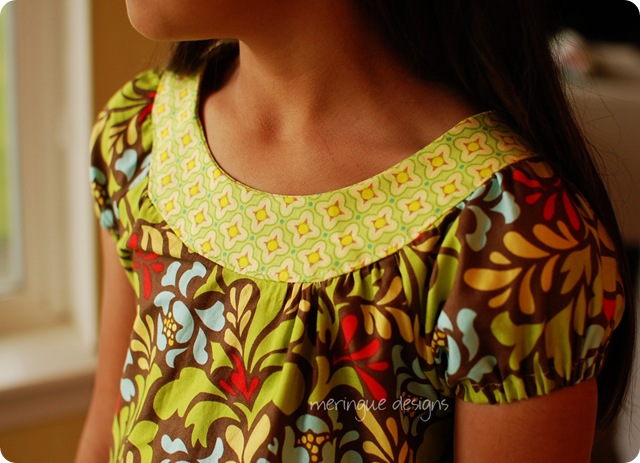
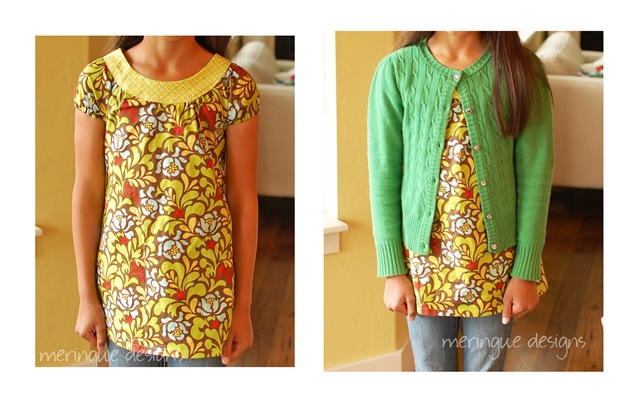
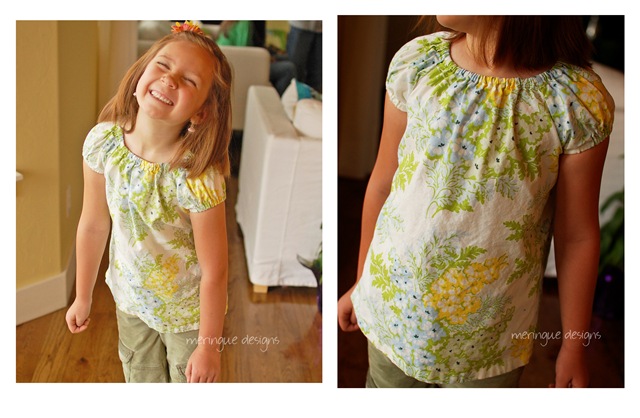
smocks for girls 006 copyI swore I’d never make this shirt again, but exactly 2 years have passed since I used this pattern last. That’s long enough for me to have forgotten what a pain making this yoke can be. Ok, not really.  Two years later I still hated making it. However, my daughter absolutely has loved this shirt for two years straight. She wears it along when it’s warm and layered with cardigans when it’s cold. Being the saintly mother that I am (cough, cough), I made her another. I like this one even better. Unfortunately, it does take about 3 hours to make.smocks for girlsHere is an easier version of essentially the same smock. This one is gathered at the neckline with elastic instead of with stitches. And no blasted yoke. This is the one hour version.  Giddy-Up. As much as I love the above version, I just can’t be bothered with 3 hours per smock. Especially when it will smothered with grape jelly. So I’ll be making lots more of these sweet little smocks for my girls. But definitely with the below version.
smocks for girls 007 copysmocks for girls 2 


Monday, May 10, 2010

Mother’s Day

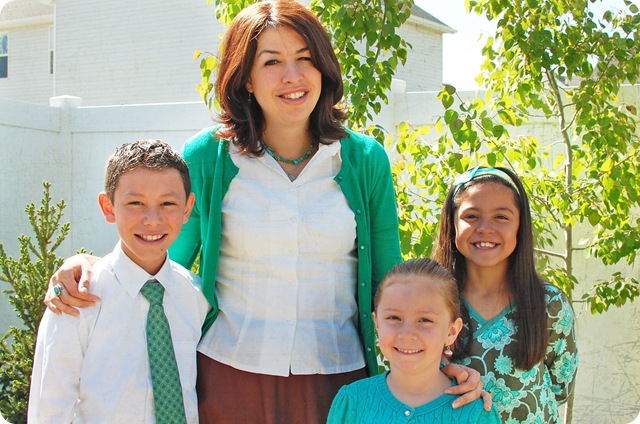
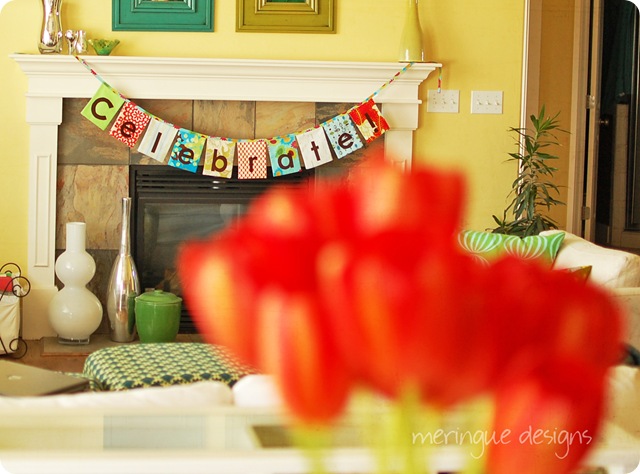
mothers day 002 copyBacon and eggs for breakfast (made by Paul)…..cards from the kids (no card from Paul)…..Paul spoke in church: that’s the most I’ve ever heard this shy boy speak about the Gospel in years (public or private)…..a beautiful sunny day…… a picture of me and the kiddos in the backyard…..ate lunch outside on my new patio set……Paul made me pizza for dinner…..Nathan made me brownies…..I bought myself tulips earlier in the week just because I deserve them. A great day to celebrate.

red tulips 008 copy

red tulips 009 copy

Saturday, May 01, 2010

Handmade Headboard

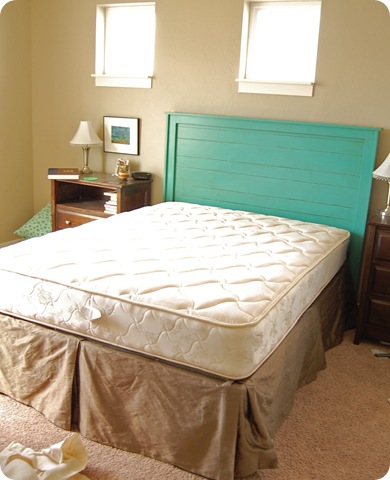
headboard install 007a copy
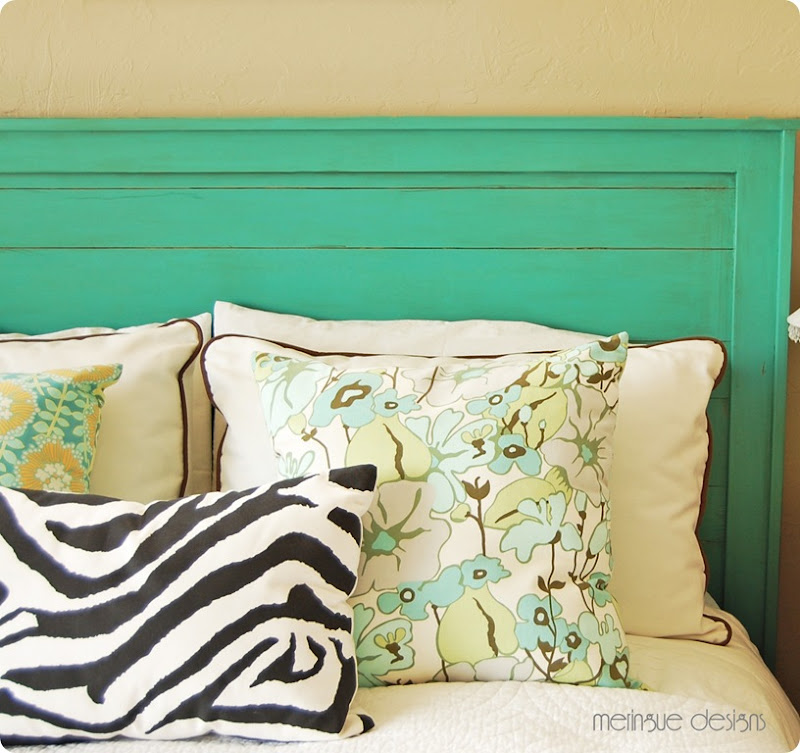
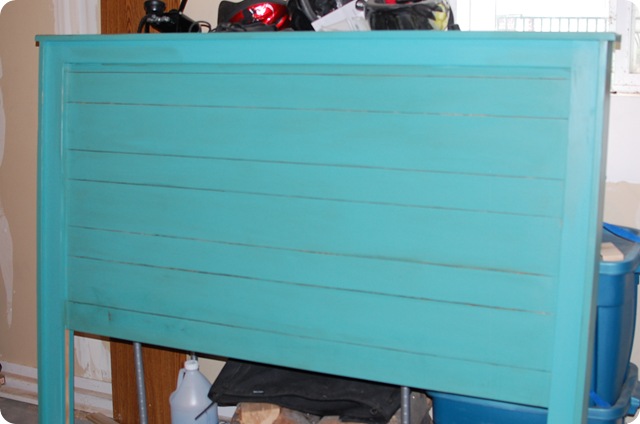
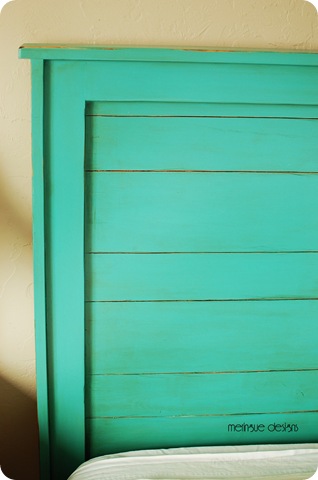
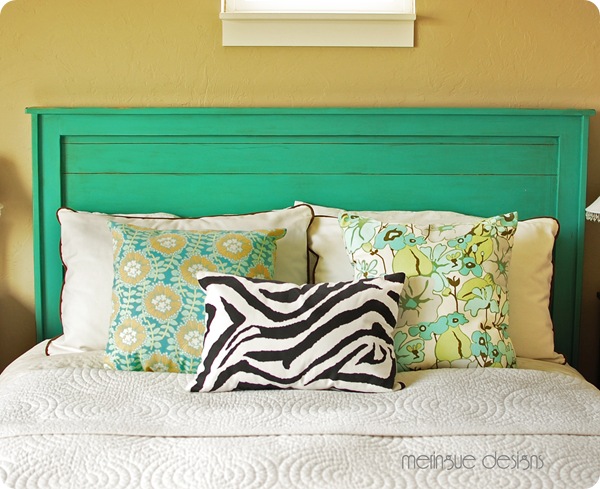
I made a headboard! I made a turquoise headboard! I am no expert in carpentry….although I did take a community night class and made a blanket chest six years ago. But my Dad IS an expert with all things handy, so since he was in town, he was my helper. Err….ok, I was HIS helper. Same thing wise guy. I saw these plans by a fabulous blogger named Ana. It is a knock-off of this $800 headboard at Pottery Barn. From what I read, this headboard could be made in around 2 hours. Seriously? Sign me up! (The finishing, however, took days, more on that later.) So off to Home Desperate Depot we went. We settled on clear pine, although I did buy 2 boards of El Cheap-O (official name) knotty pine for the lower boards that I knew would be covered. My dad tried to talk me out of buying my wood at Home Depot, claiming I would be ripped off. I should go to a lumber yard to get the best deal. Yea, yea, Dad, I can’t be bothered. What’s the worst that would happen? I overpay by 20 bucks or so? He’s a purist, I am not.
So we came home with a bunch of 1x3, 1x4, and 1x6 boards. The wood set me back about $90 George Washingtons. Cha ching! So far, so good! Then we got busy with my miter saw and drill.
headboard 001

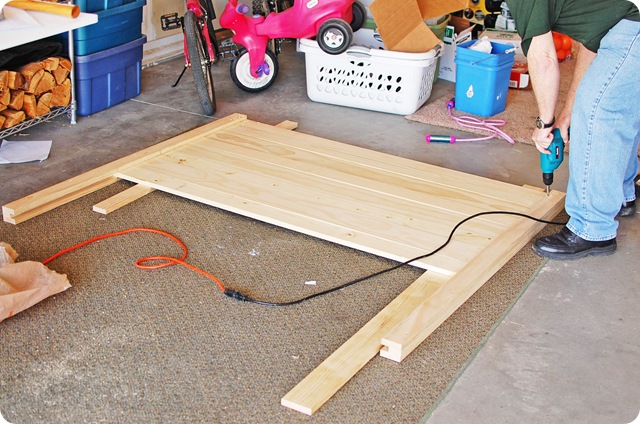
I used screws to put the whole thing together (screw from behind or else use wood filler) instead of nails. Why? Because I don’t own a nail gun. I do own an air compressor so I really should get a nail gun. So here’s my Dad puttin’ it all together while I held the camera. His poor back hurt the next day. Thanks Dad!
headboard 004 copy
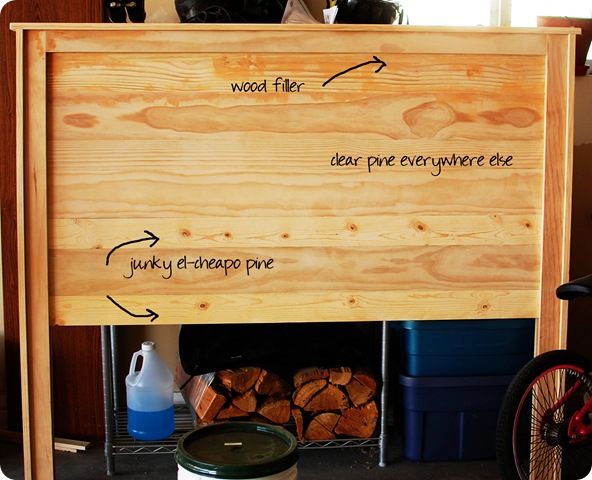
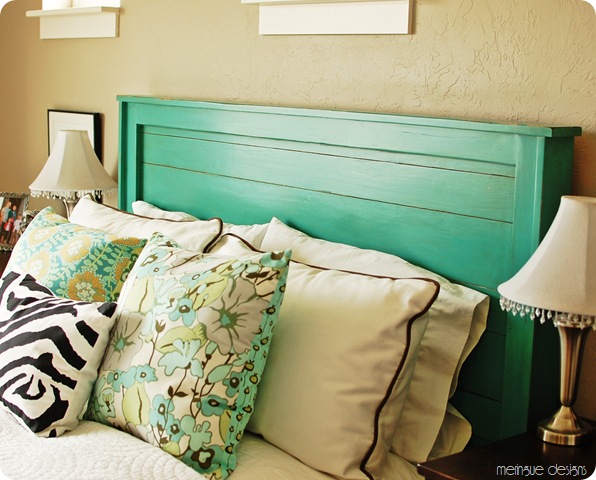
Aside from using screws, we made a couple more changes. We didn’t use the 2x4 Ana suggests putting on the very top. We thought it looked fine with just another 1x4 to finish it off.  I didn’t want it to look too rustic. Just a little bit used. This picture shows where we used some wood filler. In the end, I could’ve used the El Cheapo pine for the whole thing because I really liked how those lower boards looked once painted. Note to self.
headboard install 001
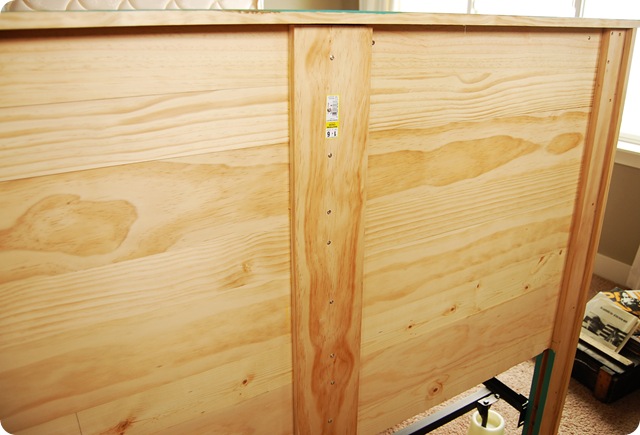
We also opted to brace the back in the middle with a leftover piece of wood, per some other bloggers’ comments. They thought it was a bit flimsy in the back as is. Nice and sturdy now!
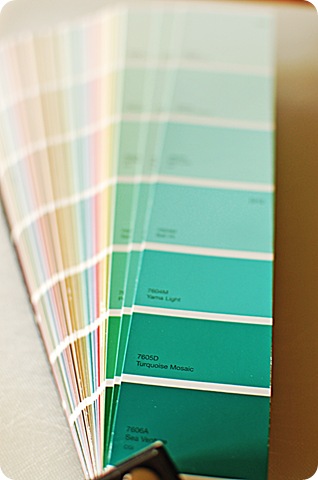
Now comes the fun part—the finishing. I wanted to coordinate with my turquoise dresser. So I pulled out my trusty fan deck (all brilliant women own one) and chose this color to match. I was tempted to stain it a nice dark espresso like my nightstands (which are from Four Chairs) but I shun bedroom sets. I really don’t like everything to match so I opted for paint.
headboard 029 copy
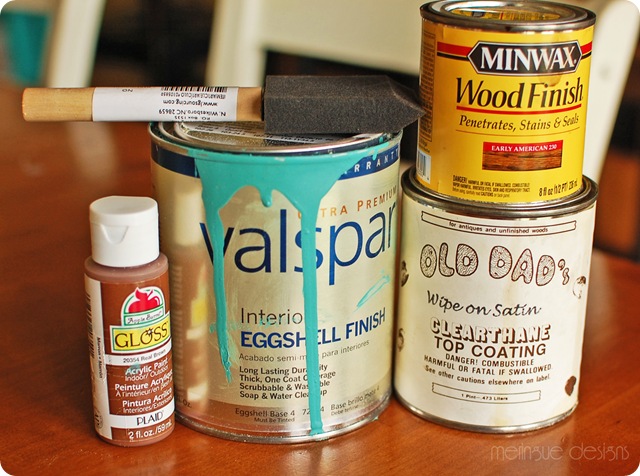
It’s called Turquoise Mosaic 7605D by Millenium. Just take any color from any chip or fan deck to Lowe’s and they’ll enter the name into their magic computer which contains the name of all other manufacturers’ paint colors, and voila, you get the color you want without having to go to a bunch of different paint stores.
headboard 007
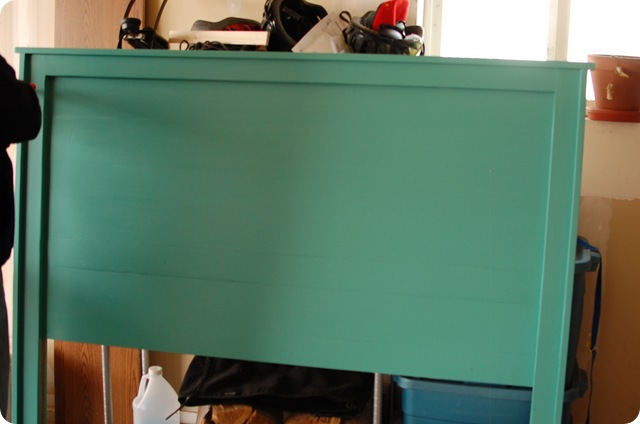
After 2 coats of paint, I notice a problem. You can’t see the boards anymore. Argh! It practically looks like I used a sheet of plywood. I want to see the individual boards! Too sterile as is. (*Scratches head with what to do*)
headboard 009
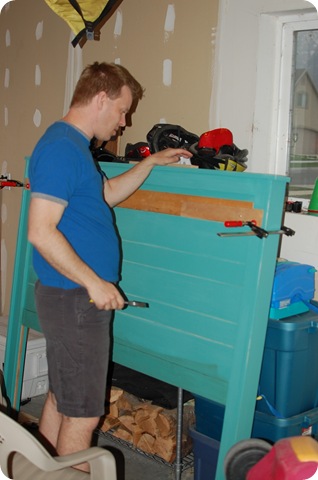
So my Dad came up with the idea of clamping boards to the headboard and chiseling out the seams again. In hindsight, we should’ve chiseled the boards as the very, very first step, and roughed ‘em up a bit. Here’s Paul with chisel in hand separating the boards again. Drag and smoosh, drag and smoosh. This is an official carpentry term. You can see at the bottom where we put a sample of stain to warm it up. Oh, I liked it a lot. Without the stain I will admit I cried out, “It belongs in Romper Room!” Phew, I felt better once the stain went on. I brushed it on with a sponge brush, then wiped it off with an old t-shirt.
headboard 011
I feel better now. The boards can be seen, stain was smooshed and slathered in the cracks, and now it’s time for 3 coats of polyurethane. If it hadn’t been 30-40 degrees this week (it’s April for crying out loud!), my 2 layers of paint, 1 layer of stain, and 3 layers of poly would’ve dried much faster. I had to sand with 600 grit sandpaper in between every coat as well. I wanted it smooth baby! Did I mention the headboard only took 2 hours and the finishing took 4 days? I was tempted to skip some steps, but I wanted this nearly perfect.  And you all know I am not a perfectionist.
headboard 017 copy
Here’s my recipe for finishing: I got nervous with the brightness of the turquoise on a sample board so I added an entire 2 fl oz. of brown craft paint lying around my house to the 1 quart of Turquoise Mosaic. In the end, I’m not sure it made much of a difference. But it made me feel like I was sprinkled with pixie dust in the moment. (“Pixie dust…pixie dust…calm down!” Name that movie.) I applied everything with foam brushes to avoid streaks. I need a paint gun now, don’t you think?

headboard 015
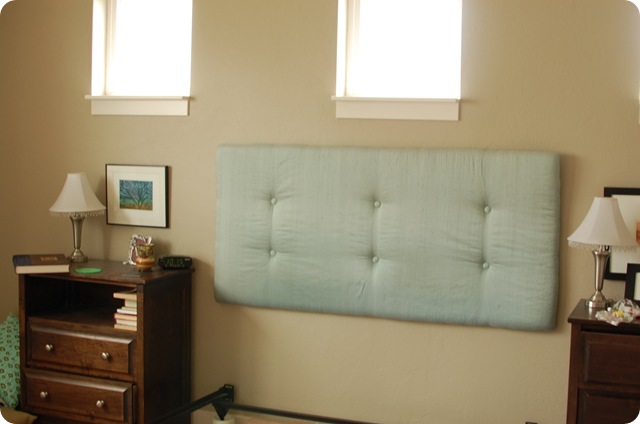
Take down my 4-yr old pale turquoise silk headboard (also made by yours truly), clear out the bed, and get busy.
headboard 020
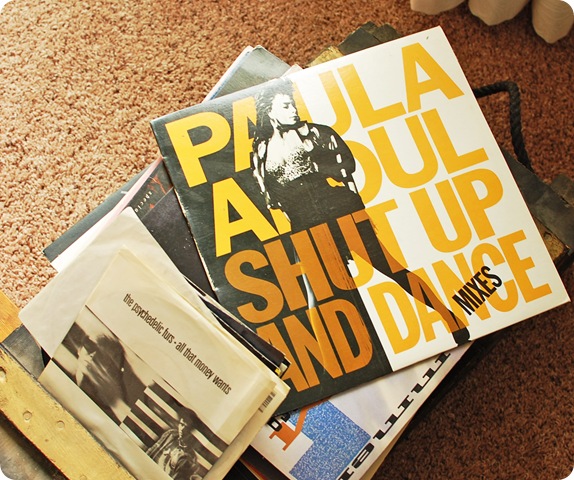
But I first take a moment to laugh at Paul’s collection of vinyl from the 1980s found under our bed. I approve of the Psychedelic Furs 45, but not too sure about the Paula Abdul and M.C. Hammer records. “Straight up now tell me are you really gonna love me forever..oh…oh…oh…”  Back to work Cynthia.
headboard 021 headboard install 003
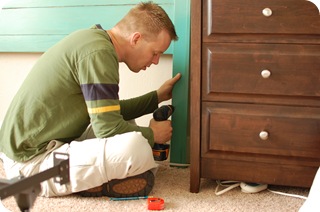
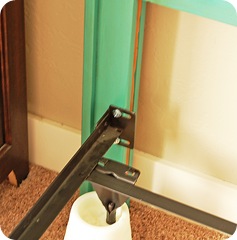
Paul the accountant gets busy with the drill and some bolts. Hubbies are handy too. Sometimes.
headboard install 005
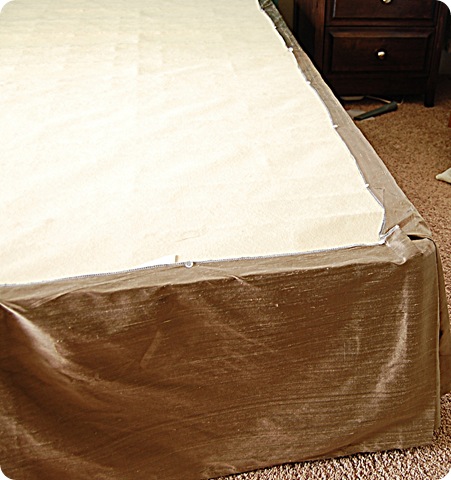
I put the box spring back and take a moment to show you, my bloggy friends, how I make and attach a dust ruffle. I’ve talked about this before. But I’m showing you here that for this silk dust ruffle I used twist pins and not staples to attach it to the box spring. Never make a deck for your dust ruffle. Only sissies do that. Just kidding. Well, not really. You gotta take short cuts where you can.
headboard install 023 copy
headboard install 006
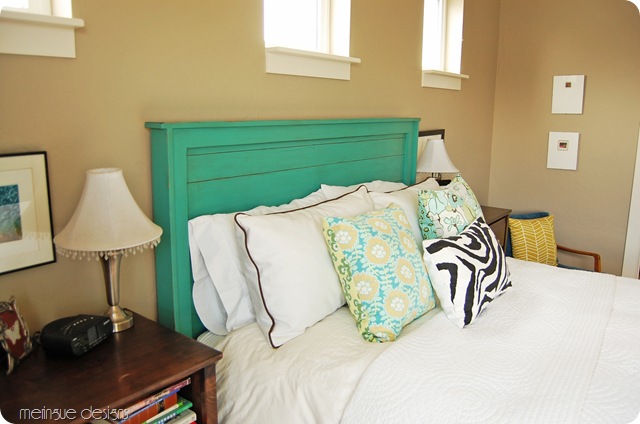
I put my very expensive D.I. Thriftstore (new, not gross) mattress back. And then add my goodies. In case you care, the quilt is from T.J. Maxx and everything else (well, the bedding at least) is made my me.
headboard install 020 copy


headboard install 015 copy
headboard install 010 copy


I love it! I love it! I am all for paying good money for furniture, but when something as simple as a headboard can be very easily made for $100 bucks, why pay $800? Thanks again to Ana for the fab plans.

LinkWithin

Related Posts Plugin for WordPress, Blogger...