Showing posts with label banners. Show all posts

Saturday, August 14, 2010

New Banner Photos

My amazingly talented photographer brother Michael Harrington is in town. He drove 600 miles just to take some photos for me. Ok, that’s a lie. He drove 600 miles to come photograph Speedweek at the Bonneville Salt Flats.  And even though he can photograph amazing photos like this….
Bonneville-017
….he can also dummy things down a bit to photograph my fun little banners for my shop.
brown banner4 web watermark saturated
So thanks to my brother for using his bazillion dollar lens on his  Canon to capture the color and fun of something so special to me. I love great photography because it says more than words ever could. So I’ll stop speaking now and let these photos do the talking.
brown banner2 web watermark saturated
Multi color Banner-2-web watermark
TQ Banner-2-web watermark
Multi color Banner-4-web watermark
patchwork banner1 watermark
Samples1 web watermark
TQ Banner-1-web watermark
Don’t you just wanna buy one of my banners now? Or at least buy the pattern and make your own?

Monday, June 14, 2010

Look who made it to Etsy’s Blog!

Etsy is having a little (probably big) craft party to celebrate their birthday. The party is in Brooklyn, so I doubt I’ll make it.  But this was a little ego boost for me last week. :)
(Click image to read article.)
etsy blog images 00

Friday, June 11, 2010

How to Machine Appliqué

marimekko flowersI just listed a new embroidery design in my shop. It’s an appliqué of letters with some cute Marimekko flowers adorning each letter. Have I ever blogged about how much I love Marimekko fabric? Well, I should because Marimekko is a staple in the modern design world. And has been for 40 (or is it 50?) years now. Yummy stuff.  I want every pillow pictured here on the right.
Anyway, here is a quick tutorial on how to appliqué by machine.
First, hoop your fabric and sew the first stitching—this is calling the placement line. I don’t have a photo of this, sorry. Not all designs come with a placement line, although I think they should. The appliqués in my shop do because I am fancy.
Second, take a scrap of cotton, heavily starch it, and lay it over the first stitching. Make sure it covers the entire stitching area. If there is a hole to cut out for a letter “e” like here, I would carefully cut a little slit in the fabric now, then lay the fabric back over the stitching line. It is very difficult to cut out the little slit later after it has been sew down. Ask me how I know. (Ruined many items this way by cutting through all the layers of fabric.) See the little slit in the center of the “e”? Now you’ll sew the 2nd stitching, called the tackdown.
applique letters 001
Now remove the hoop from the machine (do not remove the fabric from the hoop!!!) and carefully cut away the excess fabric using some cheap little applique scissors. I use some curved fiskars that I got at Wally-Mart for $5. Try to get as close as you can without cutting the stitches, duh. If you snip a stitch (or two) it’s all good. Replace the hoop, stitch out the 3rd stitching, as seen below. This is kind of a zig-zaggy stitch to cover most of your frayed edges.
applique letters 004
The 4th stitching will be the final satin stitching, seen below. This will be the only stitching that will actually show. The bare spots you see are where the flowers will be stitched out. Good designs always remove unnecessary bulky stitching underneath. If not, you’ll actually see the ‘bump’ underneath your final stitched design. Not to mention it will be thick and stiff in those areas. Ok, enough about that.
applique letters 005
Now you are ready to stitch out your cute little Marimekko flowers. All done! Well, with the embroidery part.
applique letters 011
I decided to make all my cute little linen squares into a banner. How cute did my linen ‘celebrate’ banner turn out with all the little Marimekko flowers? I sure love it.
 applique letters sampler
the final product:
applique letters 018 watermark

Friday, March 12, 2010

Almost there….almost there….

It’s sunny, it’s 40 degrees, and I am getting ready for spring! Unfortunately this isn’t my banner. It’s for a client, but I’m making me one soon. I hate being left out. Looks how cute this matches my picture frames? Gimme…gimme…DSC_0607 edit
DSC_0593 copy

Friday, February 26, 2010

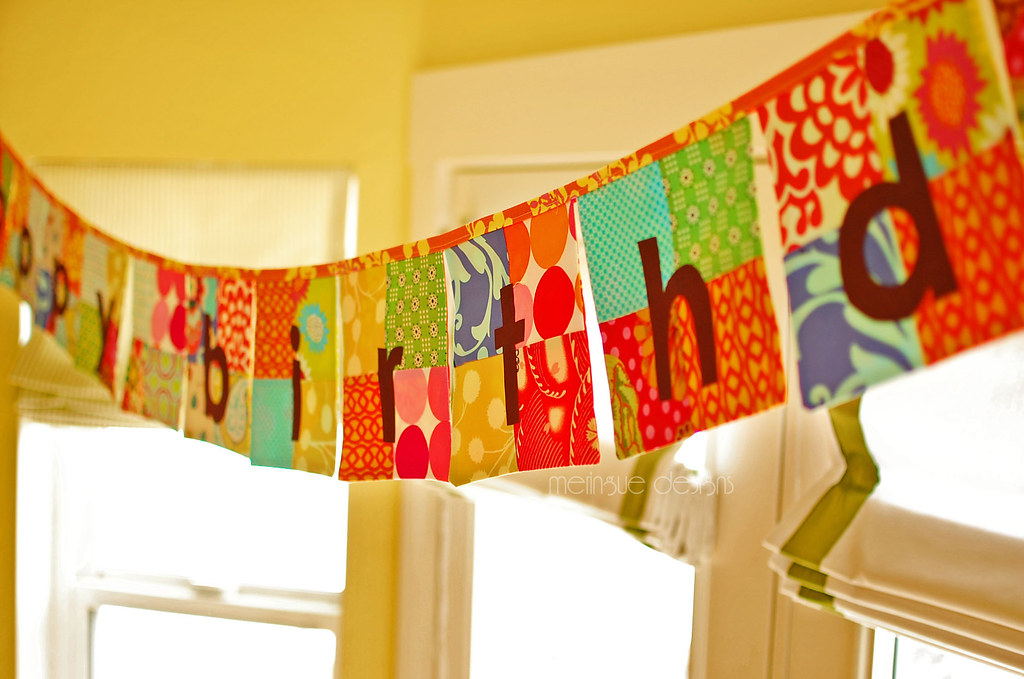
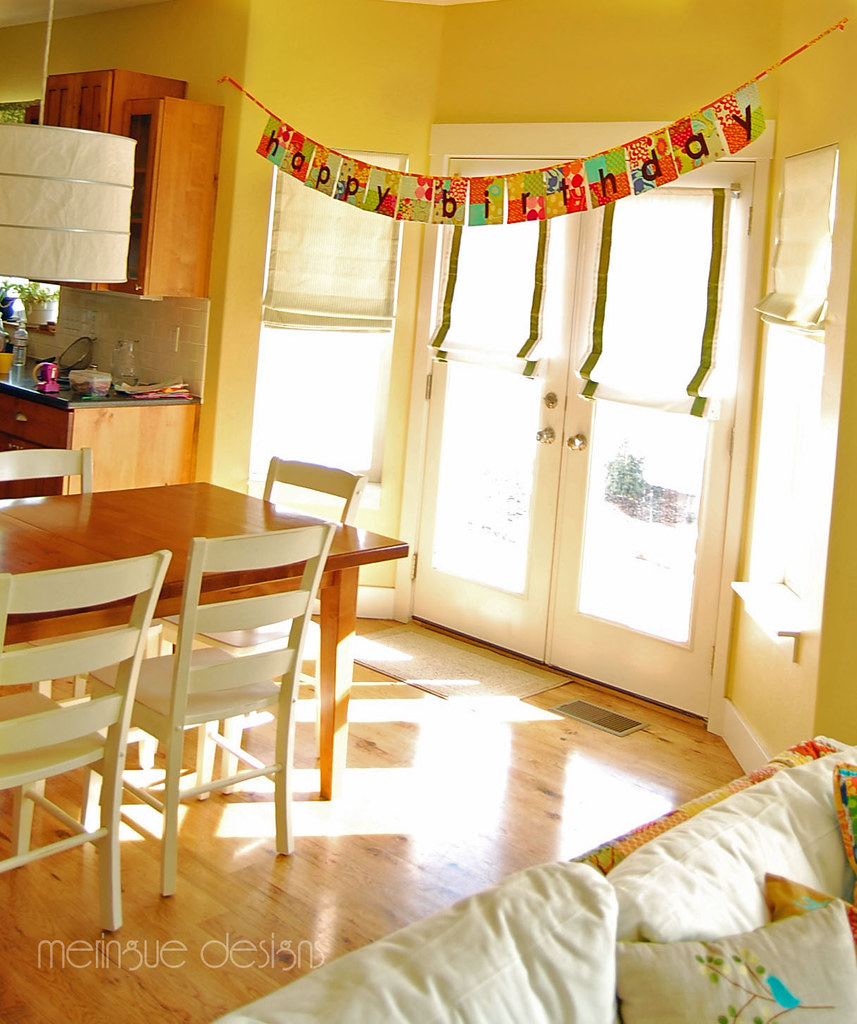
Four-Patch Birthday Banner

four patch banner 014 copy
I’ve been wanting to make a new birthday banner for family. And while I love the ones I sell in my etsy shop, I have literally made hundreds of them in the same color scheme so I’m a bit tired of seeing the same fabrics day in and day out. So I decided to make a totally unique one with four-inch squares of fabric. If you too wanna be like me (or at least like my banner) cut 56 4” squares of fabric. (Happy Birthday has 14 letters but I made a ‘blank’ patch to go in the middle.)
four patch banner 002
Then you gotta pair ‘em up and sew 28 pairs together so they look like this:
four patch banner 005
Then you gotta pair ‘em up one more time (oh, come on, chain piece them and they’ll go real quick like) and soon you’ll have 14 squares approximately 7 1/4”
Back them, make some rope, fuse the letters, and you’re all done! Just in time for my son’s birthday Monday! And for all our family birthdays. Phew!
(If you need the pattern because this blew your mind, you can find it in my etsy shop.)

four patch banner 021

Thursday, June 04, 2009

Camp Sew Fun

Banner patterns available at meringuedesigns cheaper than on etsy. DSC_0014

The kids have been out of school just about a week now, but so far so good.  IDSC_0020 must admit I was a bit anxious as the school year came to an end. After all, the kids fight like cats and dogs on the weekend so who is to say that the other five days of the week would yield a different result? Most days I believe that my kids would sell each other for a nickel—with or without a coat of many colors. So what’s a mom to do? Structure is the answer my friends.
I decided that every Tuesday this summer would be Camp Sew Fun in our house. So for this week’s projects the kids wanted  to make banners for their rooms. Imagine that, their mom makes and sells banners to everyone else on the planet, and yet my own kids don’t even have one. So I put one of my sewing machines on the lowest possible speed (lest Camp Sew Fun result in a trip to the E.R. for removal of a sewing machine needle) and let the kids sew their own banners. They picked their own fabrics, traced the letters, cut them out, and pieced them together. My oldest son had the hardest time cutting out his letters and my youngest daughter excelled at cutting hers.  Go figure. Now I just need to figure out what we can sew the rest of the summer.
 DSC_0030

LinkWithin

Related Posts Plugin for WordPress, Blogger...