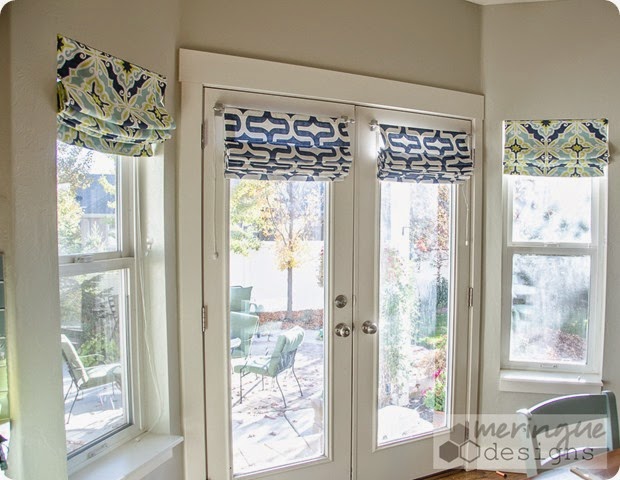
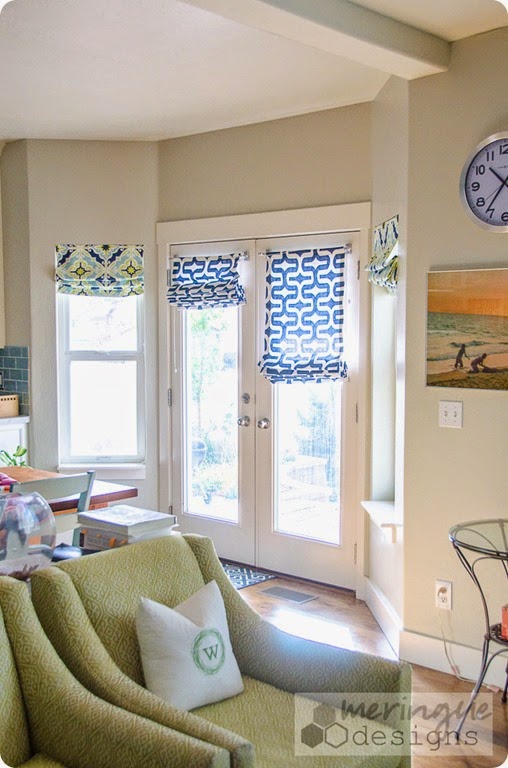
This tutorial will help you make Roman Shades for French Doors. They are real Roman Shades, meaning they pull up with cording. They are not faux shades! They really do lower for privacy, as much or as little as you’d like. These window face south so it is necessary to lower the shades to protect the wood floors and furniture from sun bleach—especially this time of year (October) and all winter when the sun so far south in the sky.
If you want to make Roman Shades for your French doors there are a few little changes you’ll need to make to the regular Roman Shade tutorials I’ve written about before.
Here is part 1 and here is part 2.
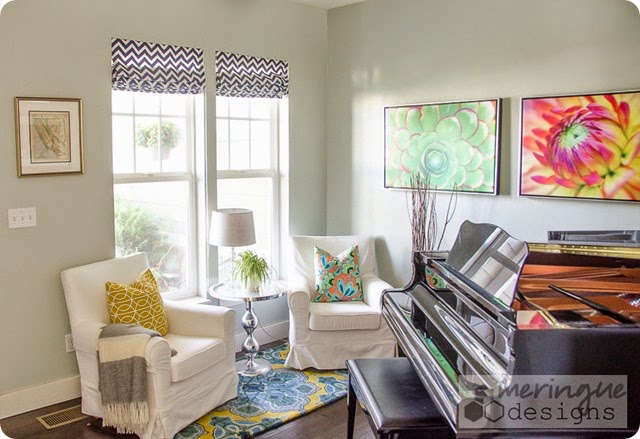
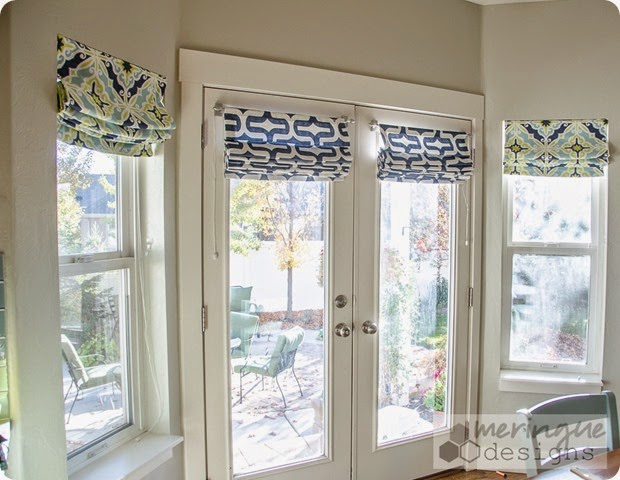
If you’ve never made Roman shades before for a regular window (like my side windows pictured above), I would suggest making one of those first. Then take that learning curve and apply it to making shades for your French doors. But hey, it’s your house, do what you want. It’s much easier to make roman shades for narrow windows if you are a beginner, like these chevron striped ones in my piano room. The windows are very narrow—great for a beginner.
The modifications you’ll need to make are………
First, you can’t use the regular 1”x2” wood header for a regular Roman shade, seen below.
Obviously there is no window header for French doors to screw it into! Also, French doors are usually metal so you don’t want to screw into them anyway. But here’s what I figured out many years ago.
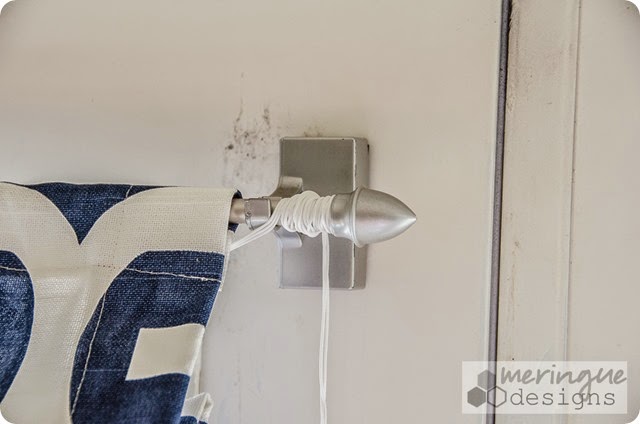
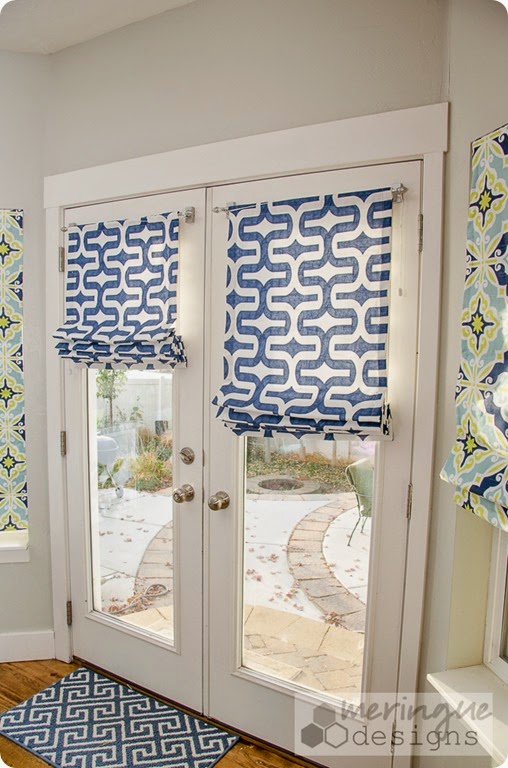
Since metal doors are usually magnetic you will use magnetic curtain rods to take the place of the wooden header. You can usually get them at any hardware store. Get really good and strong magnetic curtains rods. Mine are VERY difficult to pull off the door (I have to use two hands!) as the magnets are really, really strong, hence the scuff marks you see.
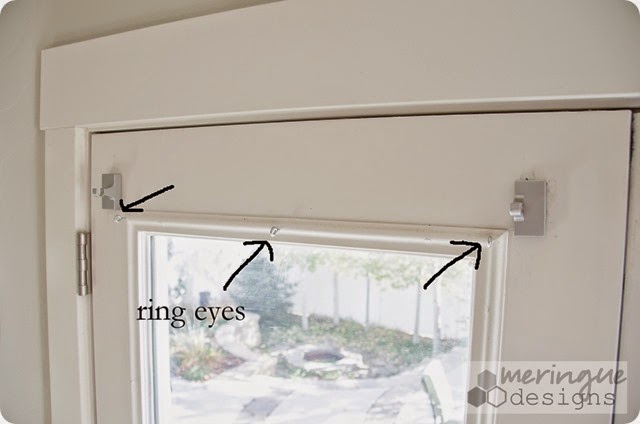
My French doors, although metal, do have the glass framed in a wood casing, so that’s where you’ll be drilling holes for the screw eyes.
The glass on both doors measure 19.5” inches x 62” inches. It looks best if the shades go an inch past the wood casing on both sides, so my shades are a finished width of 23” inches. You don’t have to be as precise on the length though. However, you do want to make the shades much longer than your glass measurement. Remember that the shades will hang several inches above your window pane, and you’ll want them to hang several inches past the bottom of the window pane as well. The finished length of mine is 68”.
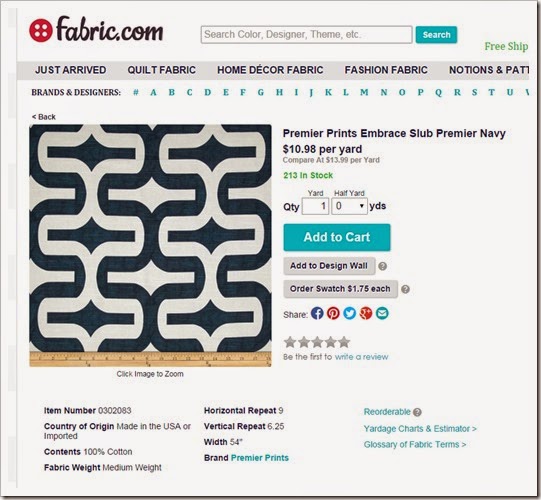
FABRIC CHOICE: I used 2 yards of 54” wide fabric cut directly in half right now the middle—no waste at all. I used “Premier Prints Embrace Slub Premier Navy” fabric. As you can see, it’s not quite as dark navy as their picture implies, but I actually prefer it a bit lighter. (True navy almost seems black to me.) Super happy with it and the price can’t be beat.
DRAPERY LINING: I used a regular cheap and lightweight curtain lining. If you use heavy blackout lining the weight of the overall curtain will be too heavy and will look bulky when pulled up! A lightweight lining will ensure crisp folds for the pleats.
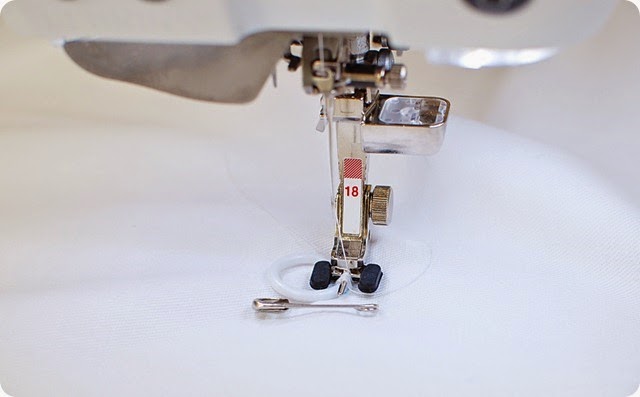
You’ll be sewing the shades exactly as in this first tutorial. That’s where I show you how to sew the rings on and everything.
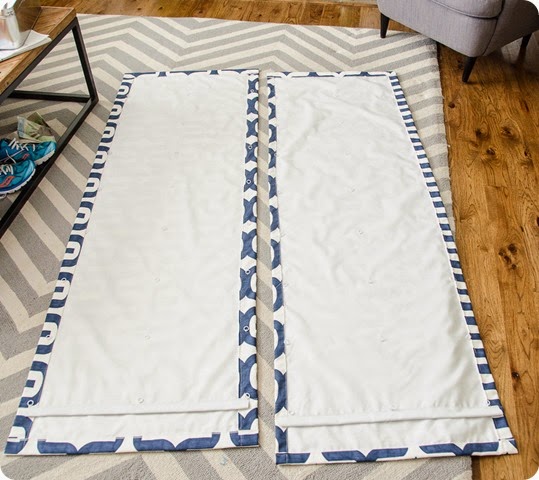
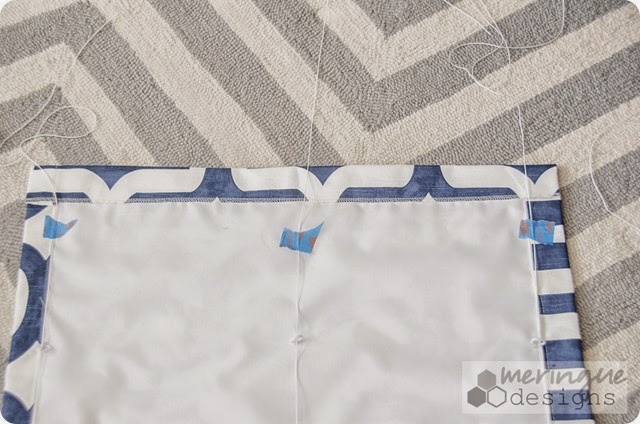
This is how the back will look once you are done.
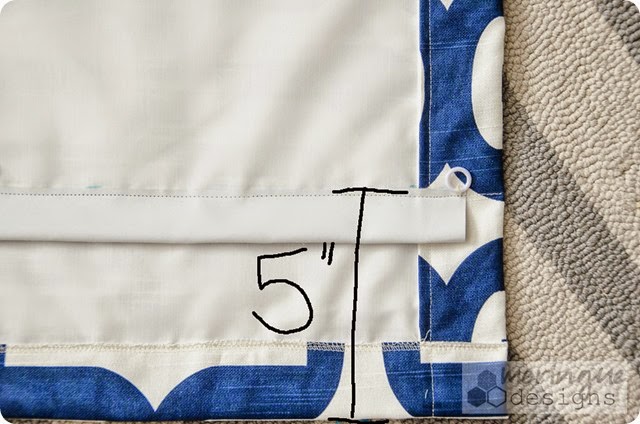
Sew your dowel pocket 5” above your bottom hem.
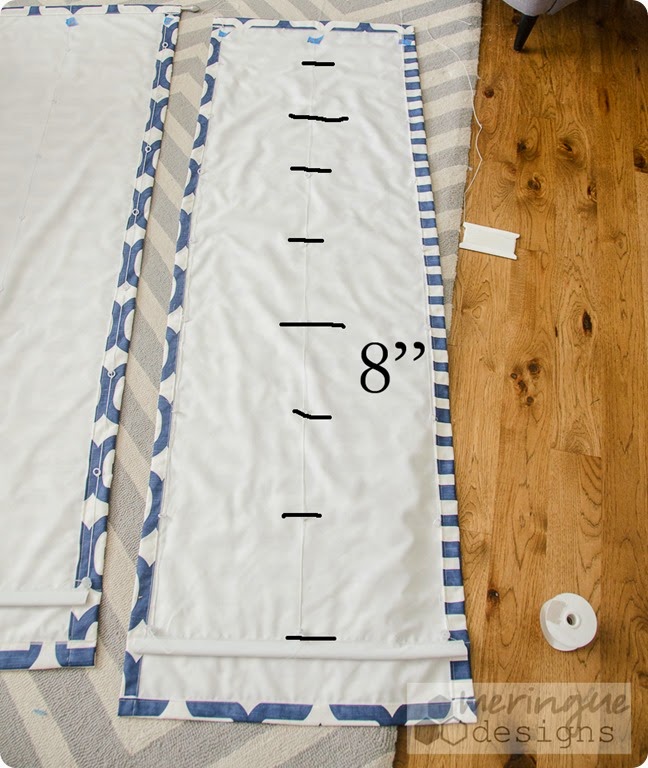
Then space your rings 8” apart. You’ll have a total of 8 rows of rings.
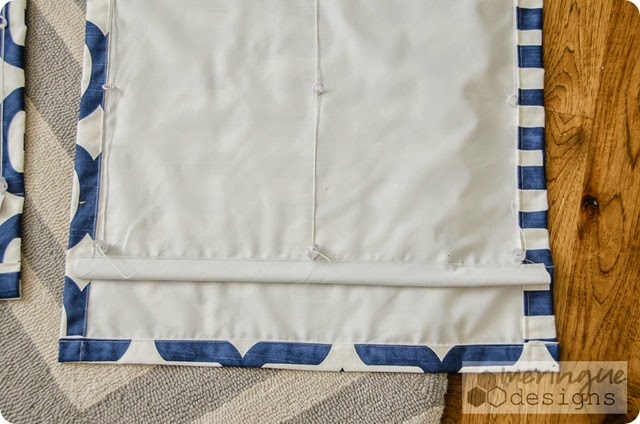
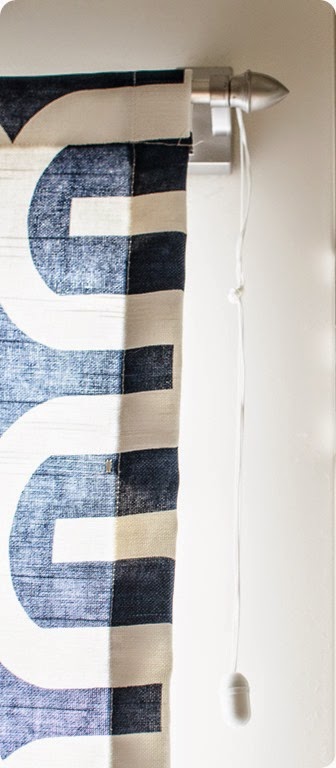
String up your shade with 9mm lift cord and use those little orbs (found here at draperysewingsupplies.com) or you could just tie knots. The orbs allow you adjust your shade quite easily after it is hung. (You just pull in or let out a little cording if your shades are pulling up crooked.)
I used blue painters tape to temporarily hold my cording in place at the top.
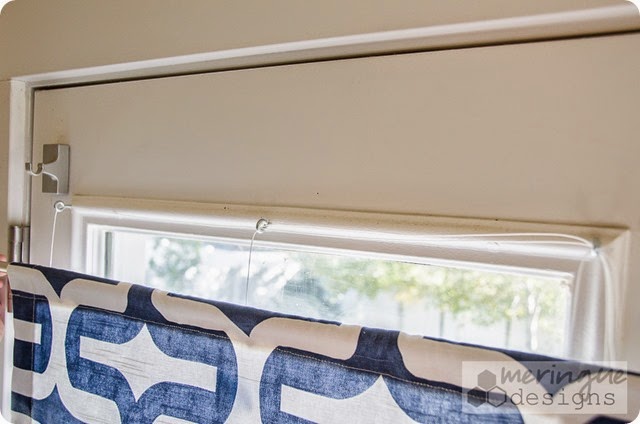
Insert your curtain rod and dowels, go to your window and thread the cording through your screw eyes just as you would on a regular roman shade mounted to wood. It really helps to have a second pair of hands for this step—one person to hold the shade, the other person to do the threading.
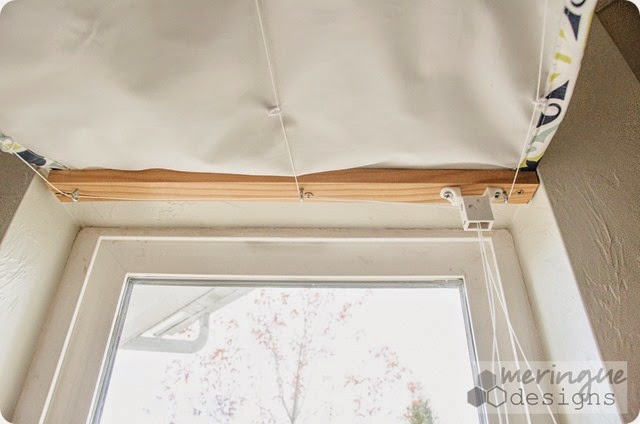
Important note: Your curtain must be hung higher than your screw eyes so that the weight of the curtain (when being raised and lowered) rests on those rings, not the magnetic curtain rod! The magnetic curtain rod holds your shade in place when still, but with too much weight on it it will be pulled off the door when raising the shade. 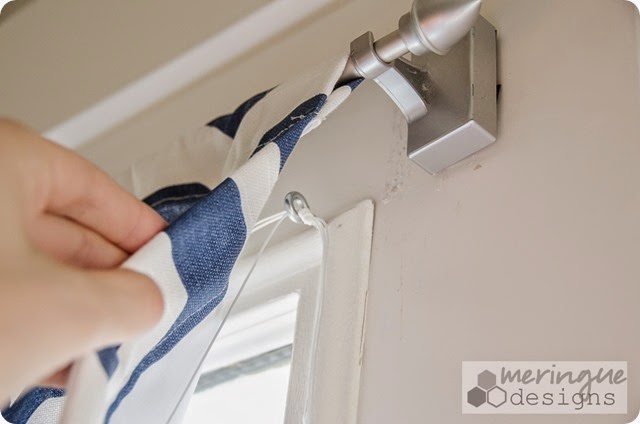
Tie a knot with all three cords very close to the screw eyes and another knot a little way down. Use a cord condenser to finish off the ends after trimming to length.
When the shades are pulled up just wind the cording around the curtain rod to hold them into place. You can also swing the cording over the curtain rod to keep it away from shutting into the door when opened and closed. (Gee Cynthia, take a Mr. Clean Eraser to your door, look at all those scuff marks!)
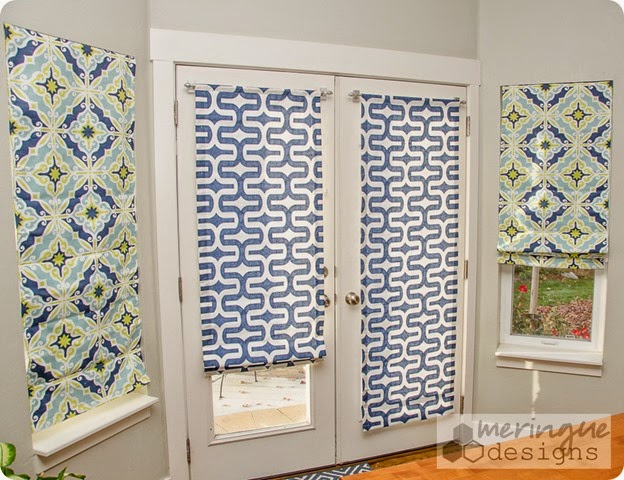
Done and beautiful. This is my third set of shades (in 8 years) that I’ve sewn for these French doors. I made several sets in my old house as well. I never tire of them.
(And yes now I realize my rug matches too well so I swapped it with a gray rug from somewhere else right after this photo. Don’t like matchy matchy!)
Happy Sewing!

![cynthia logo[4] cynthia logo[4]](http://lh3.ggpht.com/-bk55rhrNwnM/VFPBHEsTN2I/AAAAAAAAG0E/fRe26XS0tv8/cynthia%252520logo%25255B4%25255D_thumb%25255B2%25255D.jpg?imgmax=800)